

How to Personalise Gift Wrap with Embroidered Fabric
A single piece of reusable fabric gift wrap can save over 100 disposable wraps from landfill across its lifetime. Choosing premium fabric and adding a personal touch through embroidery turns every present into a thoughtful statement. Whether you want to impress at a special occasion or simply reduce waste, this guide reveals how to create custom fabric gift wrap that is beautiful, sustainable, and truly unforgettable.
Table of Contents
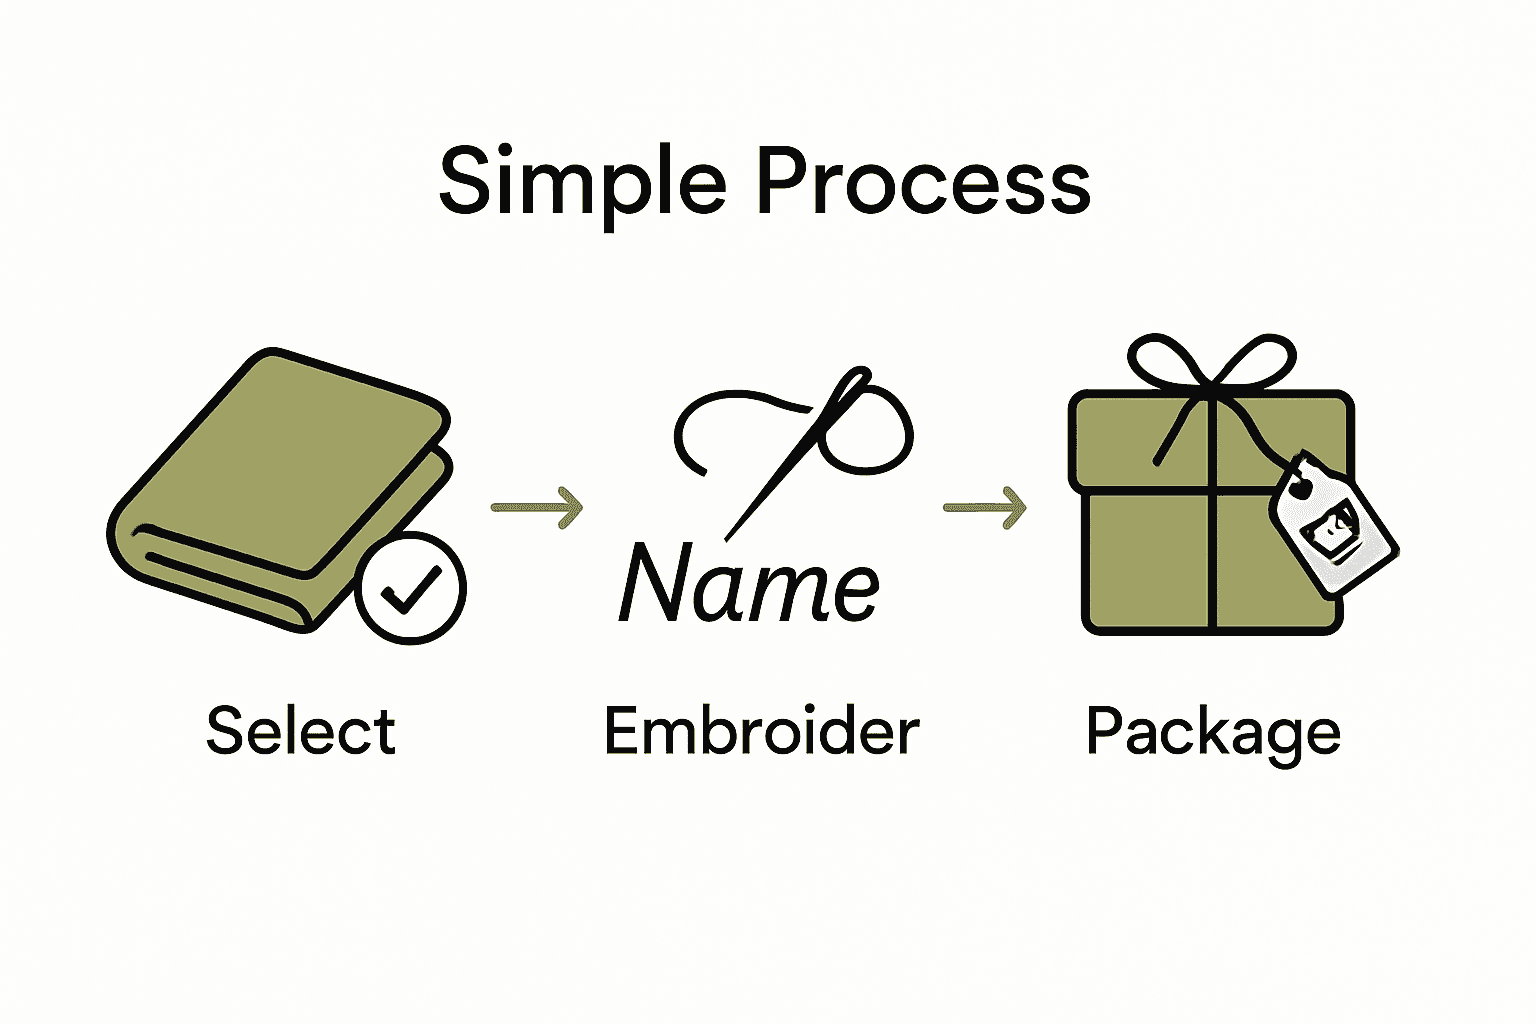
- Step 1: Select Premium Reusable Fabric Gift Wrap
- Step 2: Choose Embroidery Designs And Personalisation
- Step 3: Prepare Embroidery Materials And Workspace
- Step 4: Embroider Names Or Initials Onto Fabric Wrap
- Step 5: Inspect And Finish Your Personalised Gift Wrap
Quick Summary
| Key Insight | Explanation |
|---|---|
| 1. Choose high-quality fabric | Select GOTS certified organic cotton for durability and environmental benefits in fabric wrap. |
| 2. Personalise with embroidery | Use unique designs and names to create meaningful and memorable gift wrap. |
| 3. Organize your workspace | A tidy workspace with good lighting enhances your embroidery quality and efficiency. |
| 4. Inspect the finished product | Ensure there are no loose threads or imperfections for a polished, professional look. |
| 5. Provide care instructions | Include a care label for the recipient to maintain the fabric wrap’s quality over time. |
Step 1: Select premium reusable fabric gift wrap
Selecting the perfect premium reusable fabric gift wrap transforms your gift presentation from ordinary to extraordinary. Inspired by the Japanese art of furoshiki, gp-award highlights how sustainable wrapping can be both stylish and environmentally conscious.
When choosing your fabric gift wrap, prioritise high quality organic materials that offer durability and aesthetic appeal. Look for wraps crafted from GOTS certified organic cotton, which ensures both environmental sustainability and superior textile standards. Your chosen fabric should feel substantial yet flexible enough to create elegant wrapping styles.
Consider the recipient’s taste and the occasion when selecting your wrap. Opt for neutral tones for professional settings or bold patterns for personal celebrations. Versatile fabrics allow multiple wrapping techniques and can be reused countless times, making them an intelligent investment in both presentation and sustainability.
Pro tip: Always inspect the fabric’s edges and stitching before purchasing. Well constructed fabric wraps will maintain their integrity through multiple uses and washings, providing long term value beyond a single gifting occasion.
Step 2: Choose embroidery designs and personalisation
Personalising your fabric gift wrap through embroidery transforms a simple covering into a meaningful keepsake. According to Wikipedia, machine embroidery enables the creation of decorative stitching on fabric, allowing for unique and intricate personalisation techniques.
When selecting embroidery designs, consider the recipient and occasion. For professional gifts, choose elegant monograms or minimalist geometric patterns. For more personal celebrations, explore playful motifs or meaningful symbols that resonate with the recipient. You can incorporate names, special dates, or small illustrations that capture the gift’s sentiment.
Explore different embroidery techniques to add texture and visual interest. Wikipedia highlights bead embroidery as an advanced method for creating intricate designs, offering an opportunity to add subtle sparkle or dimensional elements to your fabric wrap.
Pro tip: Always select thread colours that complement the fabric’s base tone. Subtle tone-on-tone embroidery can create sophisticated depth, while contrasting colours make designs pop dramatically. Take time to sketch or digitally mock up your design before final stitching to ensure the personalisation truly captures your vision.
The next step involves preparing your fabric and transferring your chosen design for precise embroidery placement.
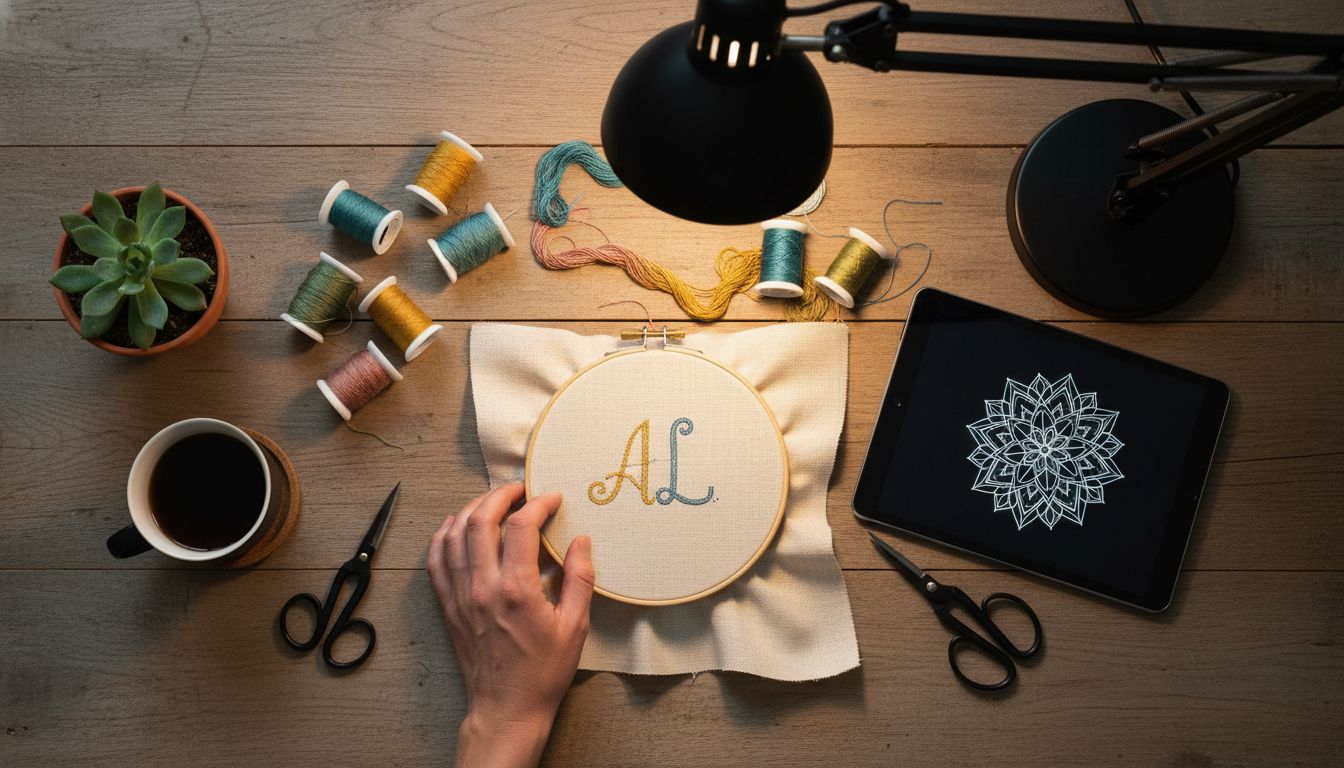
Step 3: Prepare embroidery materials and workspace
Creating a meticulously organized workspace is crucial for successful embroidery on fabric gift wrap. Wikipedia emphasizes the importance of proper material preparation, highlighting that a well-structured workspace can significantly impact the quality of your embroidery work.
Gather your essential materials before beginning: high quality embroidery threads, sharp scissors, embroidery hoops, transfer paper, marking tools, and your selected fabric gift wrap. Choose threads that complement your fabric colour and design vision. As noted in Wikipedia, techniques like satin stitch require careful material preparation to achieve smooth and even stitching.
Set up a workspace with excellent lighting and a comfortable chair to support long embroidery sessions. Position your materials within easy reach and use a clean flat surface. Ensure your fabric is wrinkle free and secured in an embroidery hoop to maintain tension and prevent fabric distortion during stitching.
Pro tip: Consider using a neutral coloured background fabric or mat underneath your work to help highlight your embroidery design and protect your primary work surface. Test your thread colours and stitching technique on a scrap piece of similar fabric before starting on your final gift wrap to ensure perfect results.
Step 4: Embroider names or initials onto fabric wrap
Transforming your fabric gift wrap with personalized embroidery requires precision and thoughtful technique. Wikipedia highlights the Holbein stitch as an exceptional method for creating clear and precise lettering on fabric, making it ideal for embroidering names and initials.
When embroidering names or initials, start by transferring your design onto the fabric using transfer paper or a light marking pencil. Choose a font style that matches the gift wrap’s aesthetic and the recipient’s personality. According to Wikipedia, machine embroidery offers an efficient way to stitch names with remarkable precision and consistency.
For hand embroidery, use a stabilizing fabric backing to prevent puckering and ensure smooth stitching. Select thread colours that complement or subtly contrast with your fabric wrap. If you are new to embroidery, practice your lettering technique on a scrap piece of similar fabric to build confidence and refine your skills.
Pro tip: Position your embroidered initials or name strategically on the gift wrap. Consider placing them in a corner or along an edge where they will be visible but not overwhelm the overall design. Take your time and stitch slowly to maintain even tension and create a professional looking result.
With your personalised embroidery complete, you are ready to prepare the fabric wrap for gifting.
Step 5: Inspect and finish your personalised gift wrap
After completing your embroidery, carefully scrutinize your fabric gift wrap to ensure a professional and polished final product. Wikipedia emphasizes the importance of thoroughly inspecting the fabric for any loose threads or potential imperfections that could detract from your beautiful design.
Begin by examining the embroidered area under good lighting. Trim any stray threads using sharp embroidery scissors, ensuring a clean and precise finish. Wikipedia highlights that proper finishing techniques are crucial for maintaining the durability and appearance of your embroidered gift wrap.
Gently press the fabric wrap using a low heat iron with a protective cloth to smooth out any wrinkles and set the embroidery. If your fabric allows machine washing, consider a delicate cycle to remove any marking lines and freshen the wrap. Pay special attention to the embroidered areas to preserve the integrity of your stitching.
Pro tip: Create a small care label or note for the recipient explaining how to maintain the personalised gift wrap. This thoughtful touch demonstrates the care and craftsmanship you have invested in creating a truly unique and reusable gift covering.
With your personalised gift wrap now complete, you are ready to present a truly memorable and special gift.
Elevate Your Gifting with Embroidered Reusable Fabric Wrap
Personalising your gift wrap with embroidery turns ordinary presents into heartfelt treasures. If you have struggled to find sustainable yet stylish gift wrap that stands out this festive season, our curated Reusable Fabric Wrap - Luxurious Christmas Collection offers the perfect solution. Crafted from premium materials, these wraps provide the durability and texture ideal for your creative embroidery designs such as monograms and meaningful motifs described in the article.
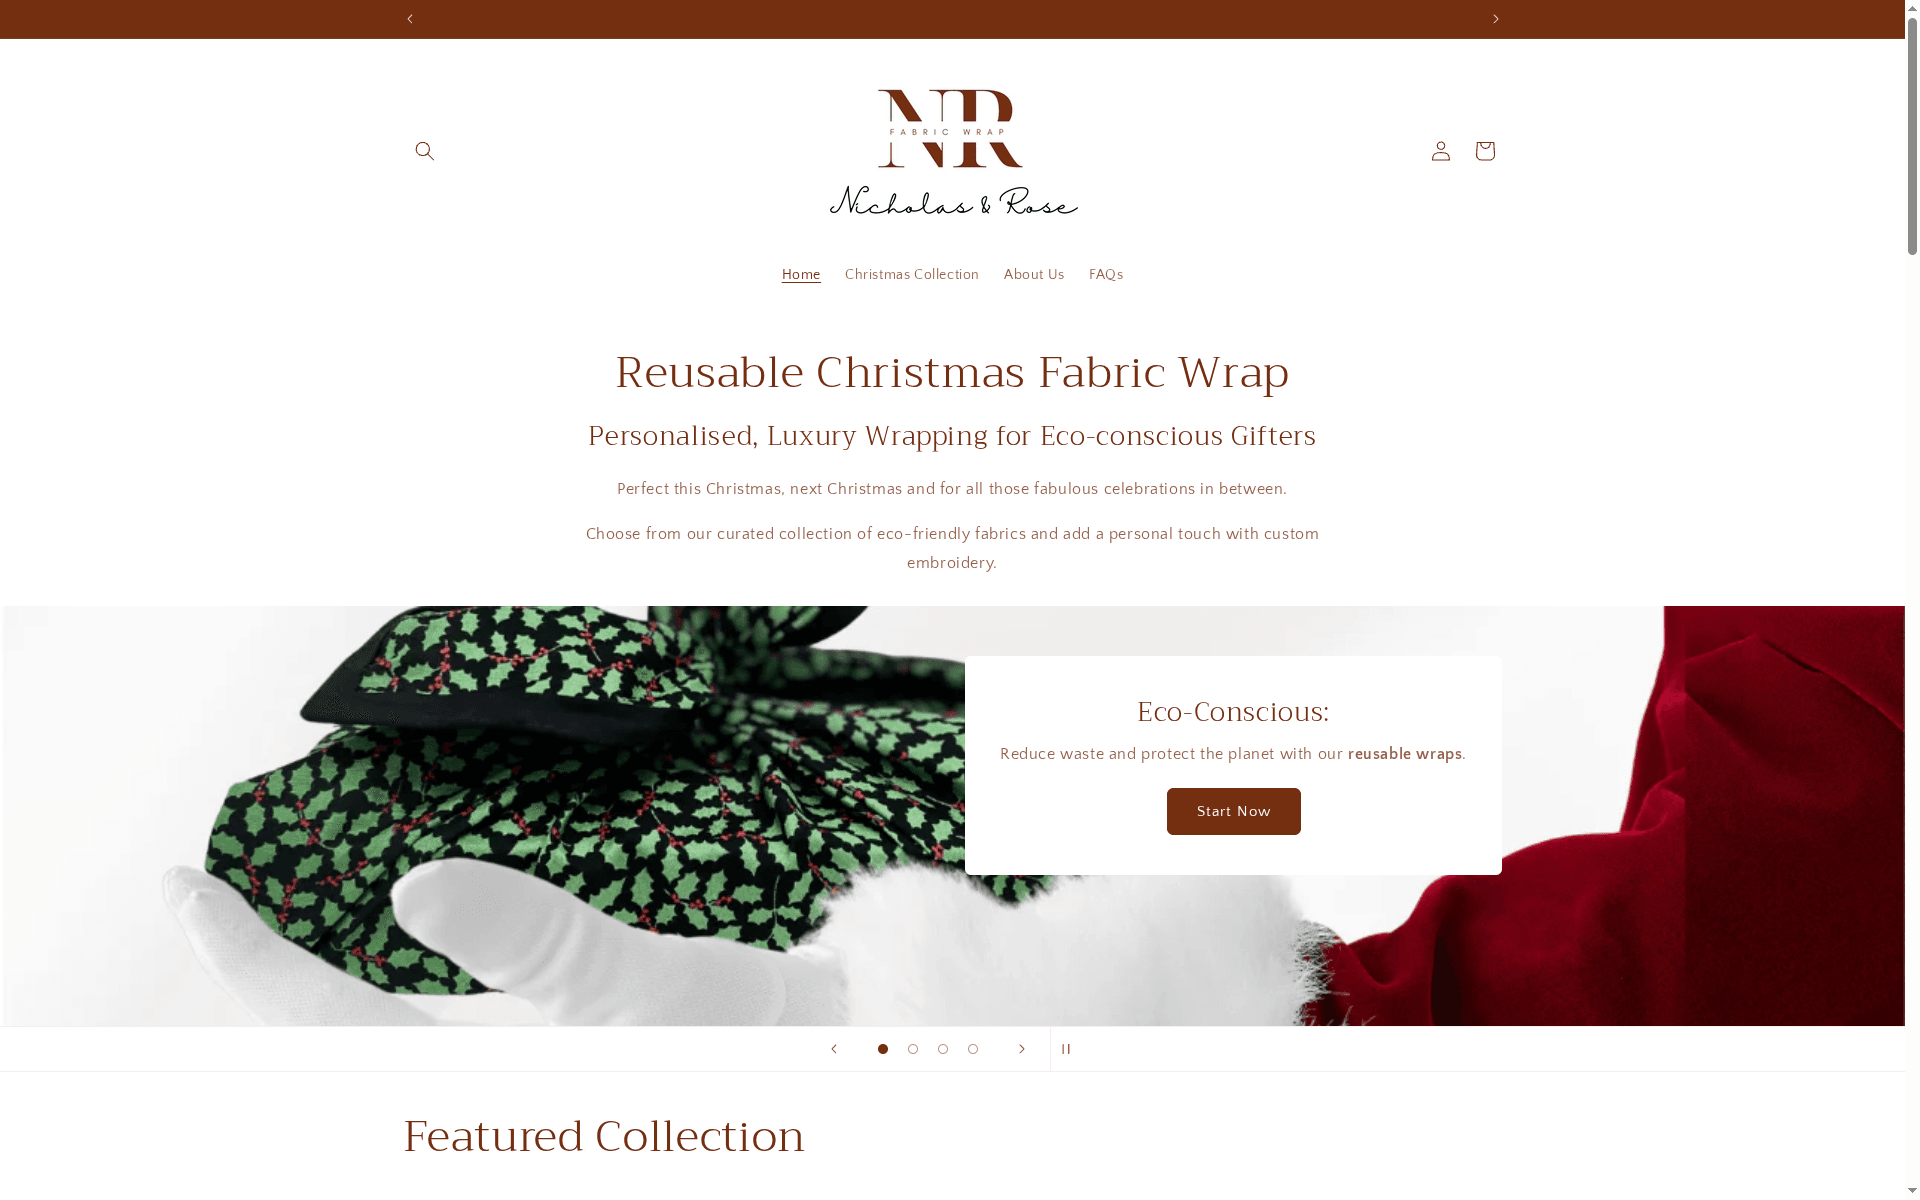
Discover the joy of gifting wrapped in thoughtful craftsmanship and eco-conscious luxury. Visit Nicholas & Rose to explore how seamless embroidery personalisation can enhance your presents. Create memorable moments and reduce waste by choosing reusable fabric wraps that remain cherished keepsakes long after the occasion. Start your journey to exquisite, personalised gift wrap today and make every gift unforgettable.
Also, browse our Favourite Four collection for inspired ideas perfect for combining thoughtful gifts with stunning presentation.
Frequently Asked Questions
How do I select the right fabric for my embroidered gift wrap?
Choosing the right fabric involves prioritizing high-quality organic materials like GOTS certified organic cotton for durability and aesthetics. Opt for a fabric that feels substantial yet flexible, allowing you to create various wrapping styles.
What embroidery techniques are suitable for personalizing gift wrap?
Techniques like satin stitch and Holbein stitch are excellent for creating clear lettering and intricate designs on fabric. Practice these techniques on a scrap piece of fabric to build confidence before applying them to your final gift wrap.
How should I prepare my workspace for embroidery on fabric gift wrap?
Create a well-organized workspace with good lighting and a clean, flat surface. Gather essential materials, including embroidery threads and scissors, and ensure your fabric is wrinkle-free and secured in an embroidery hoop before starting.
What should I do after completing the embroidery on my gift wrap?
After finishing your embroidery, thoroughly inspect the fabric for any loose threads or imperfections. Trim any stray threads with sharp scissors, gently press the fabric with a low-heat iron, and consider washing it on a delicate cycle if the fabric allows.
How can I make my embroidered gift wrap look polished and professional?
Inspect your embroidered area in good lighting and trim any stray threads to achieve a clean finish. Additionally, consider adding a small care label explaining how to maintain the fabric wrap, showcasing the craftsmanship of your work.
Recommended
- Personalise Gift Wrapping: Complete Guide – Nicholas & Rose Limited
- 7 Types of Personalised Gift Wrap for Eco-Conscious Luxury – Nicholas & Rose Limited
- What Is Reusable Gift Wrap? Complete 2025 Guide – Nicholas & Rose Limited
- Reusable Fabric Wrap UK - Nicholas & Rose Limited
- Personalized Christmas Gift Guide: Choose and Create Unique Gifts – DENMARY
- DIY Personalized Gift Ideas: Create Unique Keepsakes Easily – DENMARY